How to configure a multi-monitor PC setup like a pro
A multi-monitor setup can significantly increase your productivity, as it allows you to multitask with ease. If you’re working with such a setup, you can actually customize things like the refresh rate and resolution within Windows. This is how you do it.
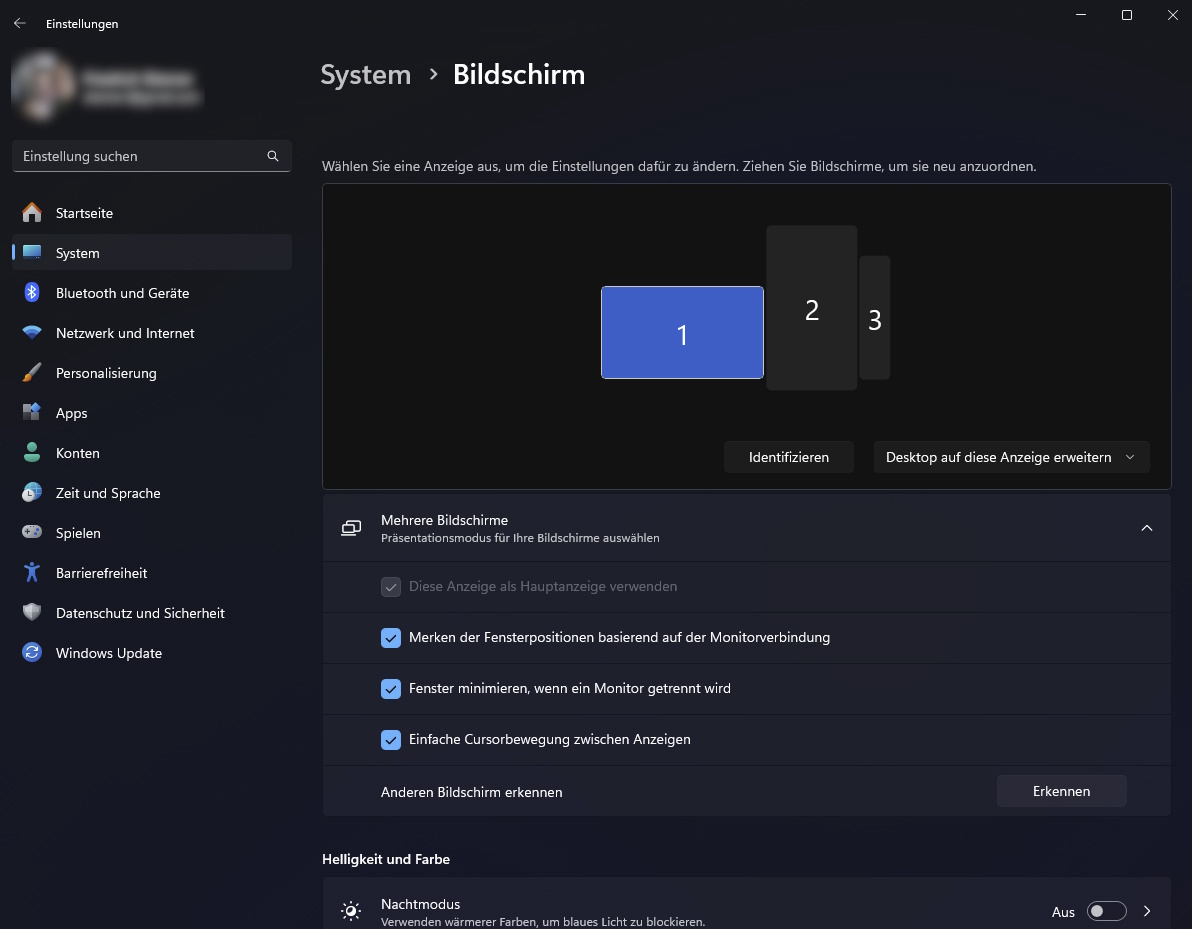
To customize the display, right click anywhere on your desktop and select “Display Settings” from the menu. This is where you can adjust the aforementioned refresh rate, resolution, and alignment. First, let’s start with the alignment of your monitors.
If your mouse moves between the screens and stays in the same position, your monitors are correctly aligned. If not, drag the monitors (they appear as rectangles) in the Display Settings until they’re correctly aligned. Use the actual position of the monitors on your desk as a guide.
You can also adjust the brightness and colors of each individual screen. In Windows 11, select the desired monitor by clicking on it. This is where you can use the brightness slider. External monitors often have physical buttons or wheels for adjusting the brightness and contrast.
Further reading: Best monitors 2024: Gaming, 4K, HDR, and more

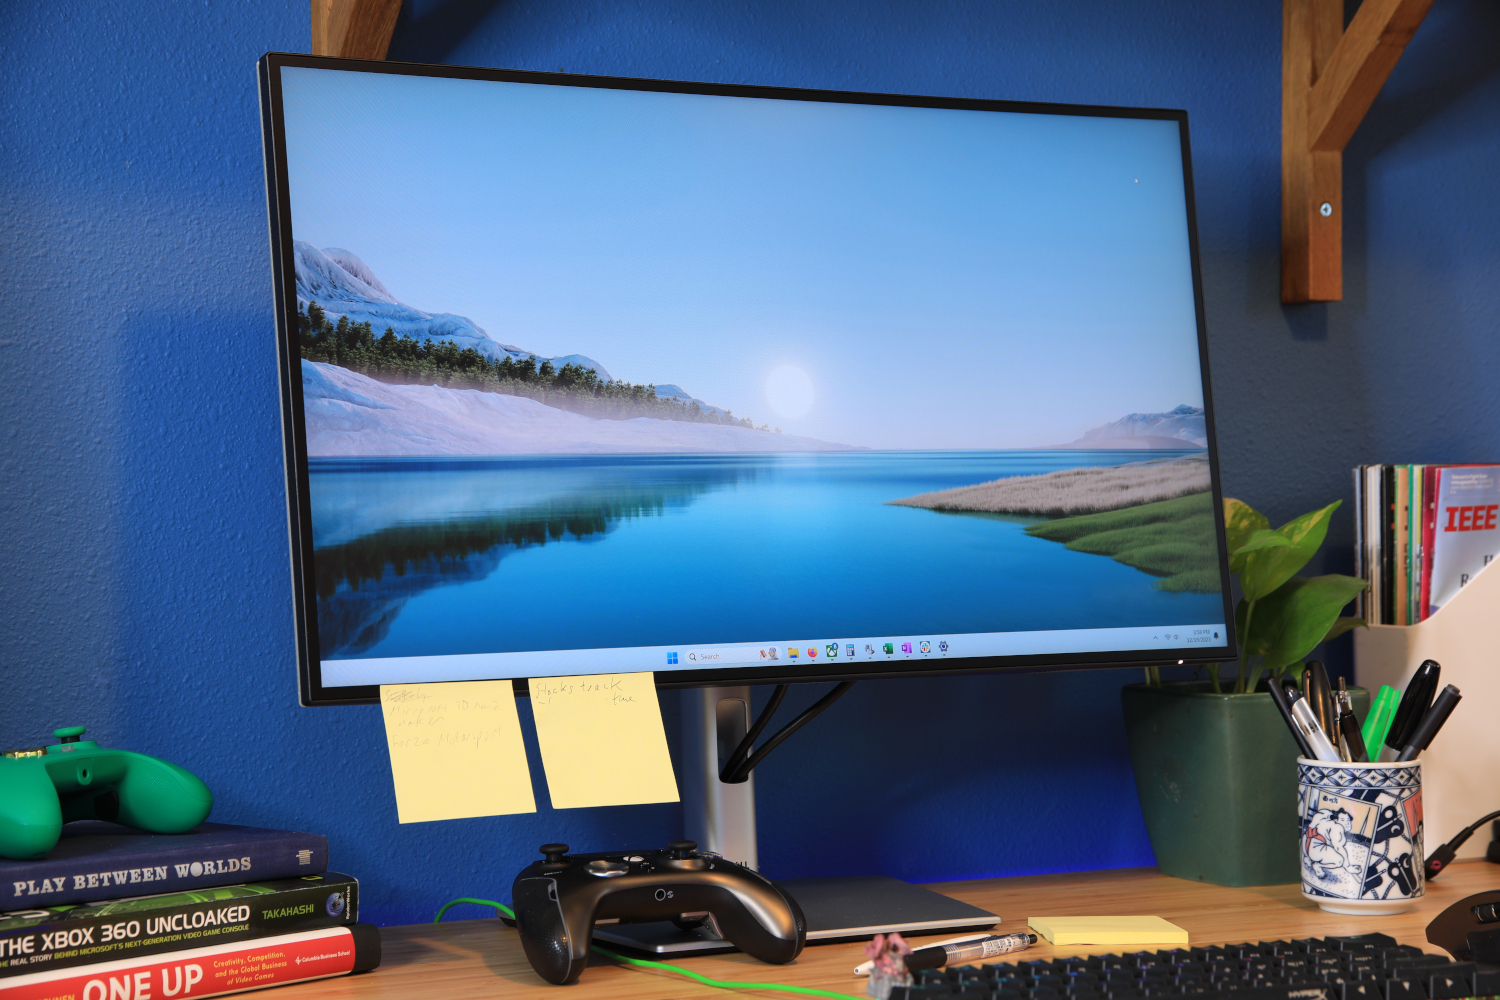
A multi-monitor setup like this one from MSI can significantly increase productivity. However, all displays must be set correctly.
IDG
Scaling and resolution are also important settings. Again, select each monitor individually and adjust the scaling and resolution for each model. Ideally, the screens in your setup should offer the same resolution. If this is not the case, adjust the scaling until app icons, fonts and other elements are displayed at approximately the same size on all screens.
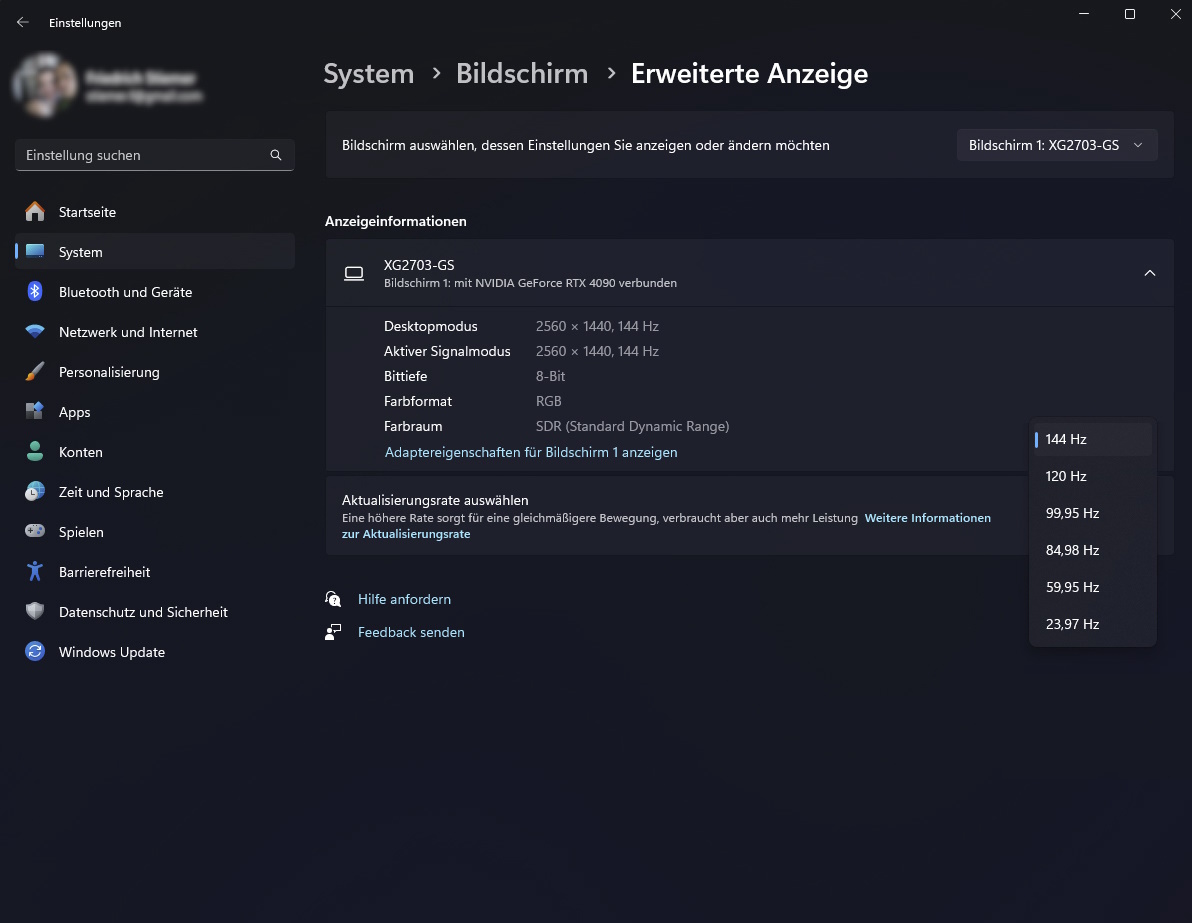
Finally, optimize the refresh rate (specified in Hertz) of each monitor. Go to “Advanced Display” and select the correct refresh rate for each screen. Use the drop-down menu at the top right to select the monitor model.

The Windows display settings offer many options to configure a multi-monitor setup. You can start them by right-clicking on the desktop and selecting the option from the context menu.
IDG
Shortcuts can also help you to quickly arrange windows. In Windows, you can use the key combination Shift + Windows + Right Arrow or Shift + Windows + Left Arrow to move the active window on the monitor to the right or left.
check out pcworld's top monitor pick Dell Ultrasharp U2724D Read our review
Price When Reviewed:
$384.99
Best Prices Today:
$332.80 at Amazon |
$359.99 at Dell
Windows right arrow or Windows left arrow snaps the active window to the right or left side of your current screen. Use Windows arrow down or Windows arrow up to minimize or maximize the current window.
Windows-Pos1 minimizes all inactive windows at once. The Windows taskbar can also be customized to the multi-monitor setup. You can display it either on all monitors or just on one screen. In Windows 11, for example, right-click on the taskbar, select “Taskbar Settings” and scroll to “Taskbar Behavior.”

The refresh rate should be the same on all screens in a multi-monitor setup, otherwise the experience will be significantly impaired.
IDG
You also have a choice of desktop backgrounds. You can use the same image on all monitors, span an extra-wide image across all monitors, or set different backgrounds for each monitor.
To do this, right-click on an image and select “Set as desktop background” or go to the personalization settings. You can also use third-party apps such as “DisplayFusion,” which offer many optimization options. These programs allow you to set different images for each monitor and offer numerous additional customization options. Remember, most of the settings you need are already available in Windows. However, third-party apps can be useful for advanced customization.
